An unfinished basement is the largest block of unused space in most homes. Finishing it can add a family room, guest suite, home office, or rental-ready living area at a lower cost per square foot than building an addition, because the walls, floor, and roof already exist.
The catch is that basements are below grade, which means moisture, drainage, ceiling height, and emergency escape rules all have to be solved before the pretty finishes go in. Skilled basement remodeling contractors treat a basement as a system: dry it, frame it, insulate it, then finish it.
In this guide, E&K Contractors explains basement refinishing and remodeling step by step, covering layouts, subfloor moisture barriers, sump pump planning, egress window code, insulation, lighting, and realistic costs.
Start With Moisture: The First Rule of Basement Finishing
No basement should be finished until its moisture situation is understood and under control. Covering a damp wall with drywall does not fix the water; it hides it until mold and damage appear.
The evaluation starts outside. Gutters, downspouts, and grading should move water away from the foundation. Inside, look for efflorescence on the walls, musty odors, rust at the base of metal objects, and any history of standing water.
Active leaks and foundation cracks are repaired first. If the basement has a history of water entry, interior drainage and a sump system should be part of the project, which is why basement waterproofing and finishing are planned together rather than as separate jobs.
Planning the Layout
A good basement layout works with the obstacles that already exist: support posts, the furnace and water heater, duct trunks, and the plumbing stack.
Open family space usually takes the largest, brightest area. Bedrooms go where an egress window exists or can be added. Bathrooms are placed near existing plumbing lines to control cost, and mechanical rooms stay accessible with code-required clearances around equipment.
Popular basement conversion ideas include a media room, a guest suite with a full bath, a home gym, a playroom, or a combination office and living space. Decide the layout before framing begins, because moving a wall after rough-ins are done is expensive.
Ceiling height matters too. Most codes require a minimum finished ceiling height in habitable space, with allowances for beams and ducts. Measure before you fall in love with a layout that cannot legally be a bedroom.
Subfloor Moisture Barriers and Flooring Systems
Concrete slabs constantly release small amounts of moisture vapor. A finished floor needs a barrier between that slab and your flooring.
Subfloor panel systems combine a dimpled moisture barrier with an engineered wood or foam core. The dimples create an air gap that lets slab moisture dissipate instead of soaking into the floor, and the panels add a small amount of insulation so the floor feels warmer.
Alternatives include rigid foam board under a plywood subfloor, or a sleeper system where treated lumber strips are leveled on the slab and covered with plywood. The right choice depends on ceiling height, floor levelness, and the finished flooring.
Luxury vinyl plank is a popular finished floor for basements because it tolerates minor moisture and temperature swings better than solid hardwood, which should not be installed below grade.
Sump Pump Considerations
If your basement relies on a sump pump, finishing around it without a plan is a mistake. The pump is the last line of defense against groundwater, and it needs to keep working for the life of the finished space.
The sump pit should stay accessible through a finished closet, access panel, or utility area, never buried behind fixed walls. A battery backup pump protects the basement during power outages, which are exactly when storms push the most water toward the foundation.
Before finishing, confirm the pump’s capacity, the condition of the discharge line, and whether a backup system is present. If your home needs sump pump service or a new installation, E&K Contractors’ plumbing team handles sump pump installation and maintenance as part of a complete basement plan.
Egress Windows: Code Compliance for Basement Bedrooms
Any basement bedroom must have an emergency escape and rescue opening, usually an egress window, that opens directly to the outside. This is a life-safety requirement, not a design preference.
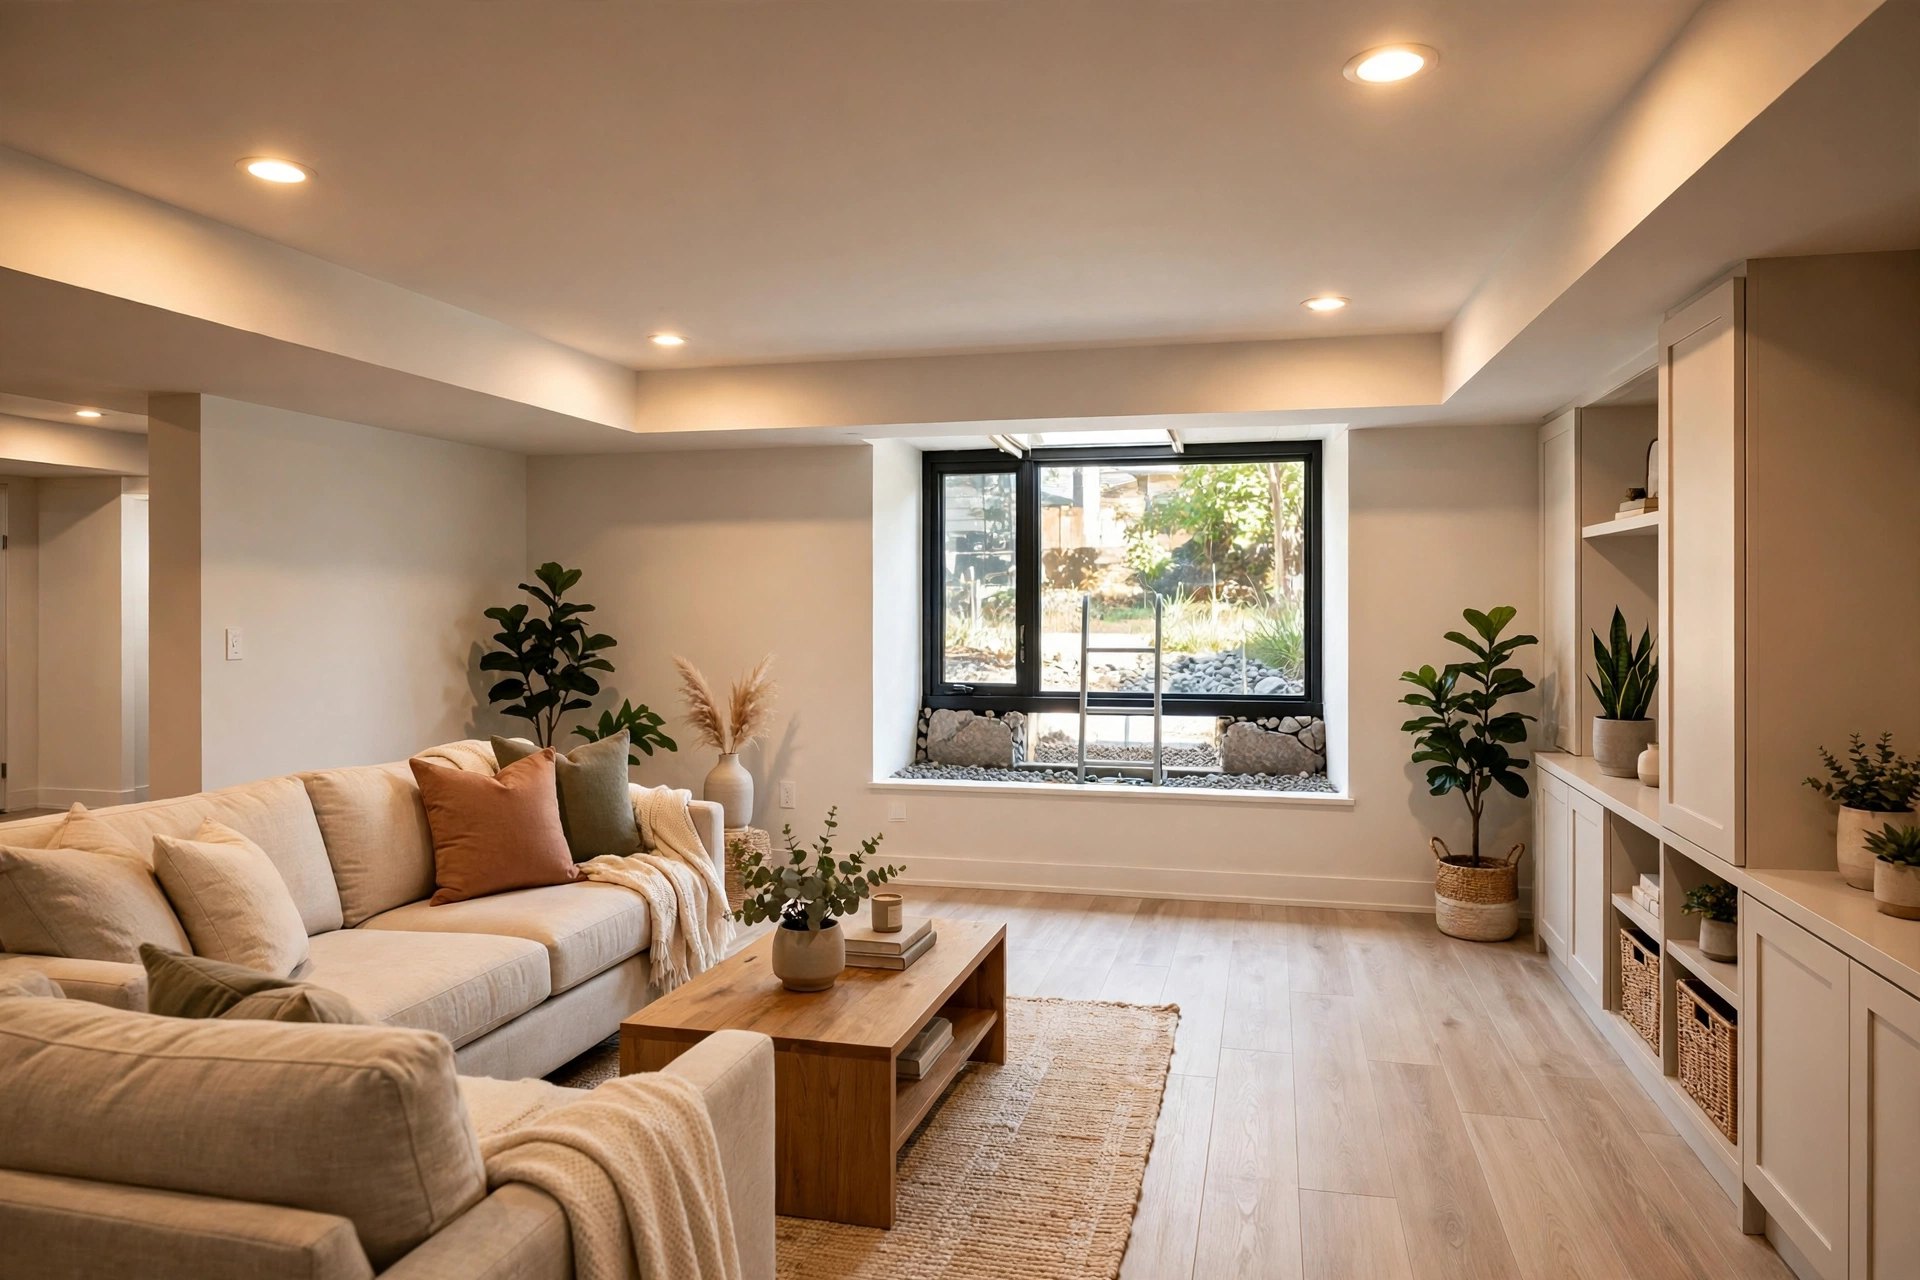
Code typically requires a minimum clear opening of 5.7 square feet, with a minimum opening height of 24 inches and width of 20 inches, and the sill no more than 44 inches above the finished floor. Below-grade windows sit in a window well that must meet its own size rules and include a ladder or steps if the well is deeper than 44 inches.
Cutting a larger opening in a foundation wall is structural work that requires permits and proper lintel support. The egress window installation cost reflects that: excavation, the well, drainage tied into the footing drain, the window unit, and the concrete cutting and reinforcement.
Even for basements without bedrooms, an egress window adds natural light and ventilation that transform how the space feels.
Wall Framing and Insulation
Basement walls are usually framed with wood or metal studs set slightly off the foundation wall, creating a cavity for insulation and wiring while keeping framing out of direct contact with concrete.
Insulation strategy matters below grade. Rigid foam against the foundation wall controls condensation because it does not absorb moisture and it keeps the framing warm. Fiberglass batts alone, pressed against a cold foundation wall with a plastic vapor barrier, are a known mold recipe and are avoided by experienced contractors.
Once framed and insulated, walls receive electrical rough-in, then drywall. Moisture-resistant board is used in bathroom areas, and all seams are finished like any other living space in the house.
Ceilings, Lighting, and Electrical Planning
Basement ceilings hide ductwork, pipes, and wiring. Drywall ceilings look the most finished but need access panels at shutoff valves and junctions. Drop ceilings give easy access and lose a few inches of height. Painting the joists and ductwork is a budget option for utility-focused spaces.
Lighting planning makes or breaks a basement. Recessed lights on dimmers spread even light without lowering the ceiling, and layering them with lamps or sconces keeps the space from feeling like a cave. Separate zones for the media area, office, and hallway give each area the right mood.
Electrical work includes dedicated circuits where needed, GFCI protection in bathrooms and near water sources, and hardwired smoke and carbon monoxide detectors tied into the home’s system, all inspected before the ceiling is closed.
What Does It Cost to Finish a Basement?
The cost to finish a basement depends on square footage, the number of rooms, and whether a bathroom or bedroom with egress is included. A straightforward open-plan finish with flooring, walls, ceiling, and lighting sits at the lower end. Adding a bathroom, an egress window, and a wet bar or kitchenette moves the budget up significantly because each adds plumbing, electrical, and permit scope.
Moisture remediation, if needed, is part of the real budget too. Spending on drainage and barriers first protects every dollar spent on finishes afterward.
A detailed written estimate should separate waterproofing, framing, insulation, electrical, plumbing, and finishes so you can see where the money goes and adjust the scope with full information.
Conclusion
Successful basement refinishing follows a simple order: control moisture, plan the layout around the mechanical systems, build a proper subfloor, meet egress code, insulate correctly, and light it well.
Handled in that order by experienced basement remodeling contractors, an unfinished basement becomes real living space that adds comfort and value to your home. E&K Contractors can evaluate your basement’s moisture condition, ceiling height, and layout options and provide a clear plan and estimate. Explore our remodeling and construction services to see how we can help.