Adding a room to your home is one of the most effective ways to gain living space without moving. Whether you need a bigger kitchen, a primary suite, or a family room, a well-planned addition blends new square footage into your existing house so it looks and functions like it was always there.
That result does not happen by accident. It comes from planning the foundation, framing, roofline, and permits in the right order, before the first hole is dug. Experienced home addition contractors follow a step-by-step process that protects the existing structure while the new space is built around it.
In this guide, E&K Contractors walks through how to plan a room addition, from the first zoning check to the final inspection, including framing ties, foundation options, roof pitch matching, and what the project typically costs.
Start With the Purpose: What Kind of Addition Do You Need?
The type of addition you choose drives every decision that follows, from the foundation to the budget.
A bump-out extends one room by a few feet. It is the smallest type of addition, but the house bump out cost per square foot can still surprise homeowners because the same trades are involved as in a larger project.
A full ground-floor addition adds one or more complete rooms on a new foundation. This is the most common choice for kitchens, primary suites, and family rooms.
A second-story addition builds upward instead of outward. It avoids new foundation work in some cases, but the existing structure must be engineered to carry the new load, which is why the second story addition cost includes structural reinforcement of the floors and walls below.
Define the purpose of the space first. A bedroom addition needs egress windows, closet space, and HVAC capacity, while a kitchen addition is driven by plumbing and electrical rough-ins. The purpose determines the plan.
Step 1: Check Zoning, Setbacks, and Lot Rules
Before design work begins, confirm that your lot can legally accept the addition.
Setback rules control how close a structure can sit to your property lines. Lot coverage limits cap the total footprint of buildings on the parcel. Height limits matter for second-story work, and HOA rules may add their own restrictions on top of city or county codes.
A survey of your property lines is the safest starting point. Building an addition that crosses a setback line can result in stop-work orders or, in the worst case, removal of completed work.
Step 2: Design and Structural Planning
With zoning confirmed, the addition is designed to match the existing house in floor height, ceiling height, and roof style.
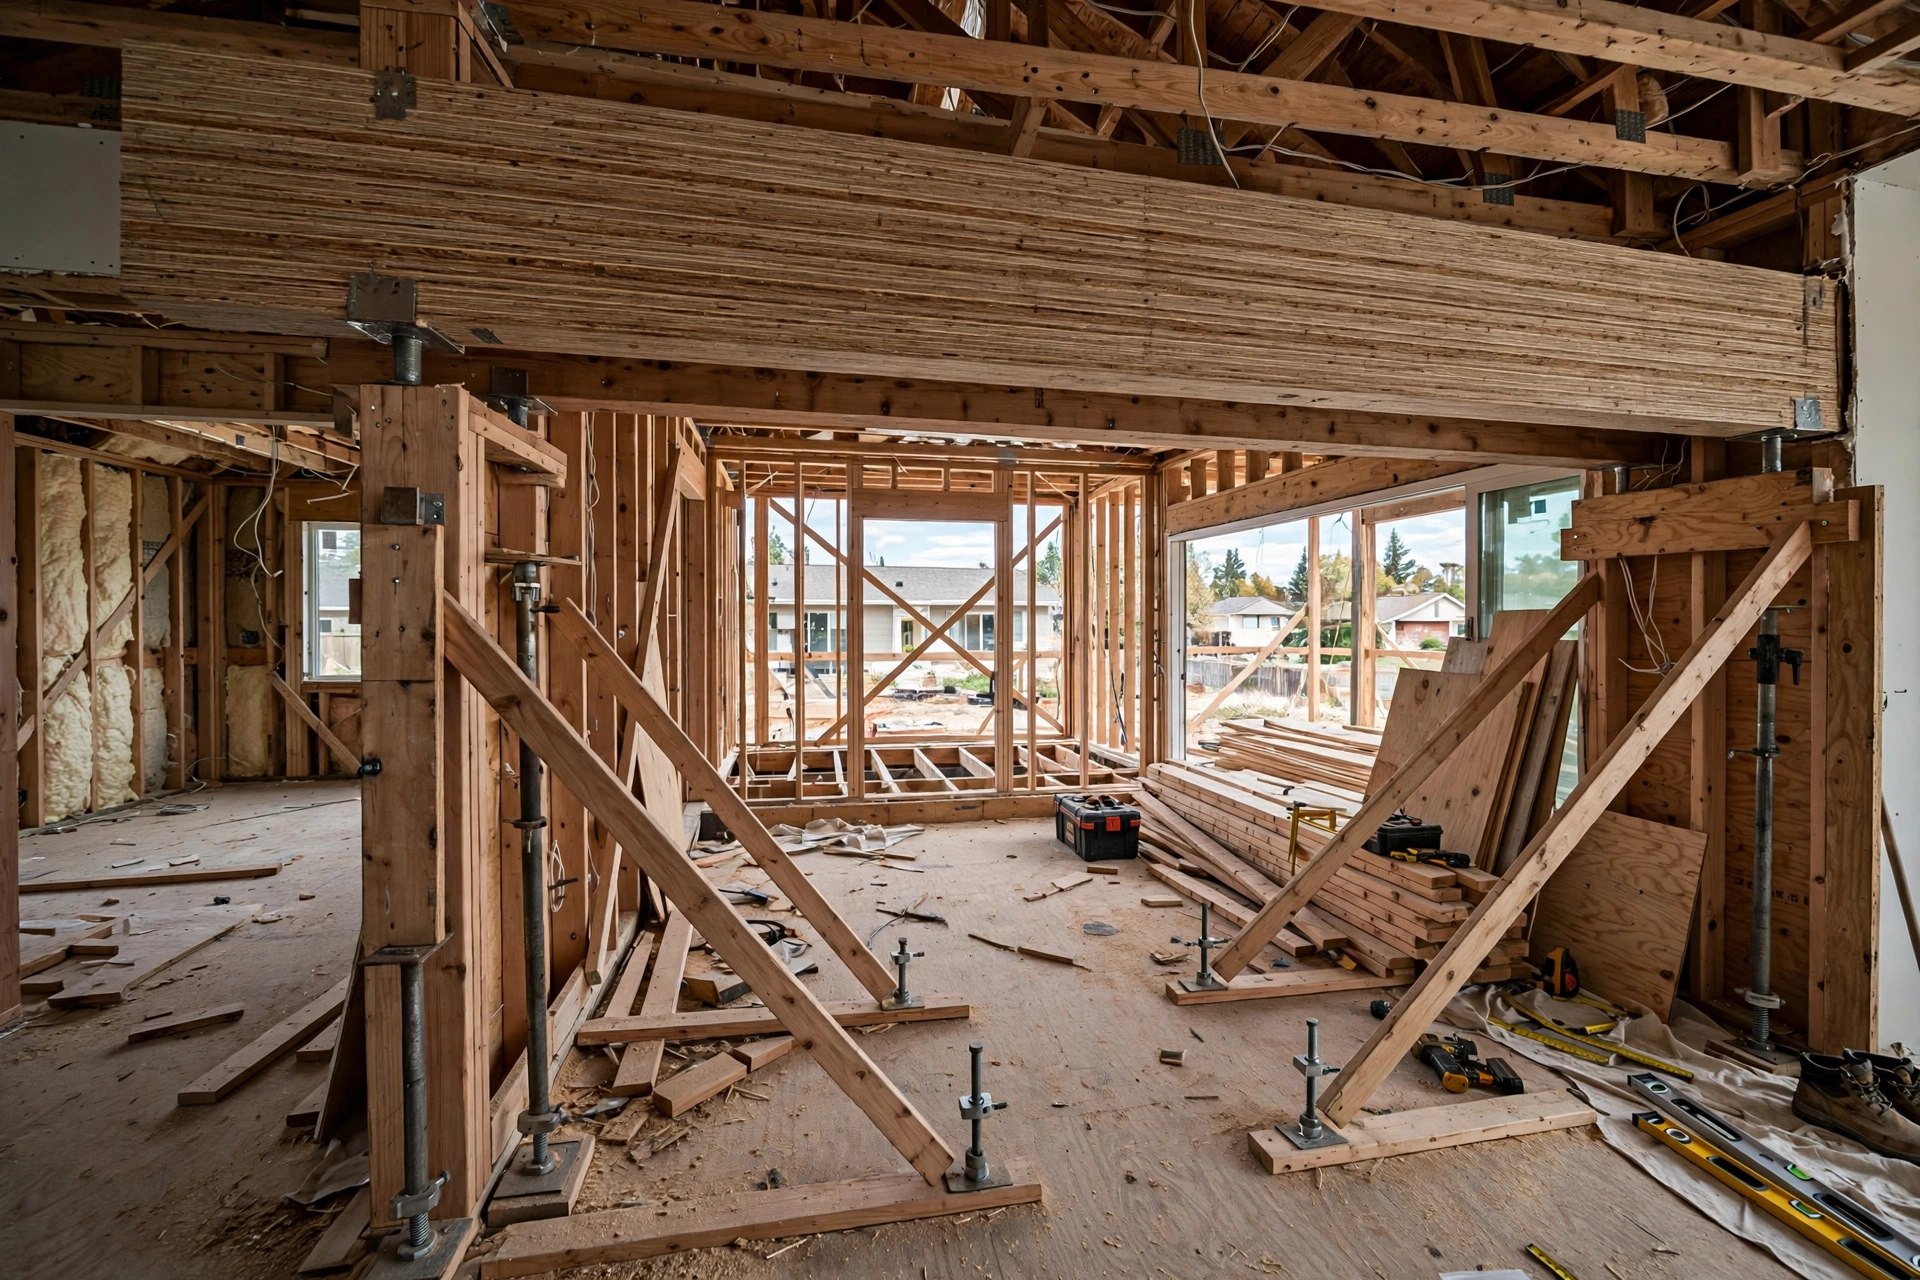
The structural plan answers critical questions. How will the new floor system connect to the existing framing? Where will new loads transfer down to the foundation? Which walls of the existing house will be opened, and what temporary support do they need while beams are installed?
Structural beam installation is often the heart of the project. When a wall between the old house and the new addition is removed, an engineered beam, steel or LVL, carries the loads that wall used to hold. Sizing that beam correctly is an engineering calculation, not a guess.
Step 3: The Foundation: Poured Slabs, Footings, and Stem Walls
The new addition needs a foundation that matches the depth and behavior of the existing one, so the two structures settle together instead of pulling apart.
Poured Concrete Slabs
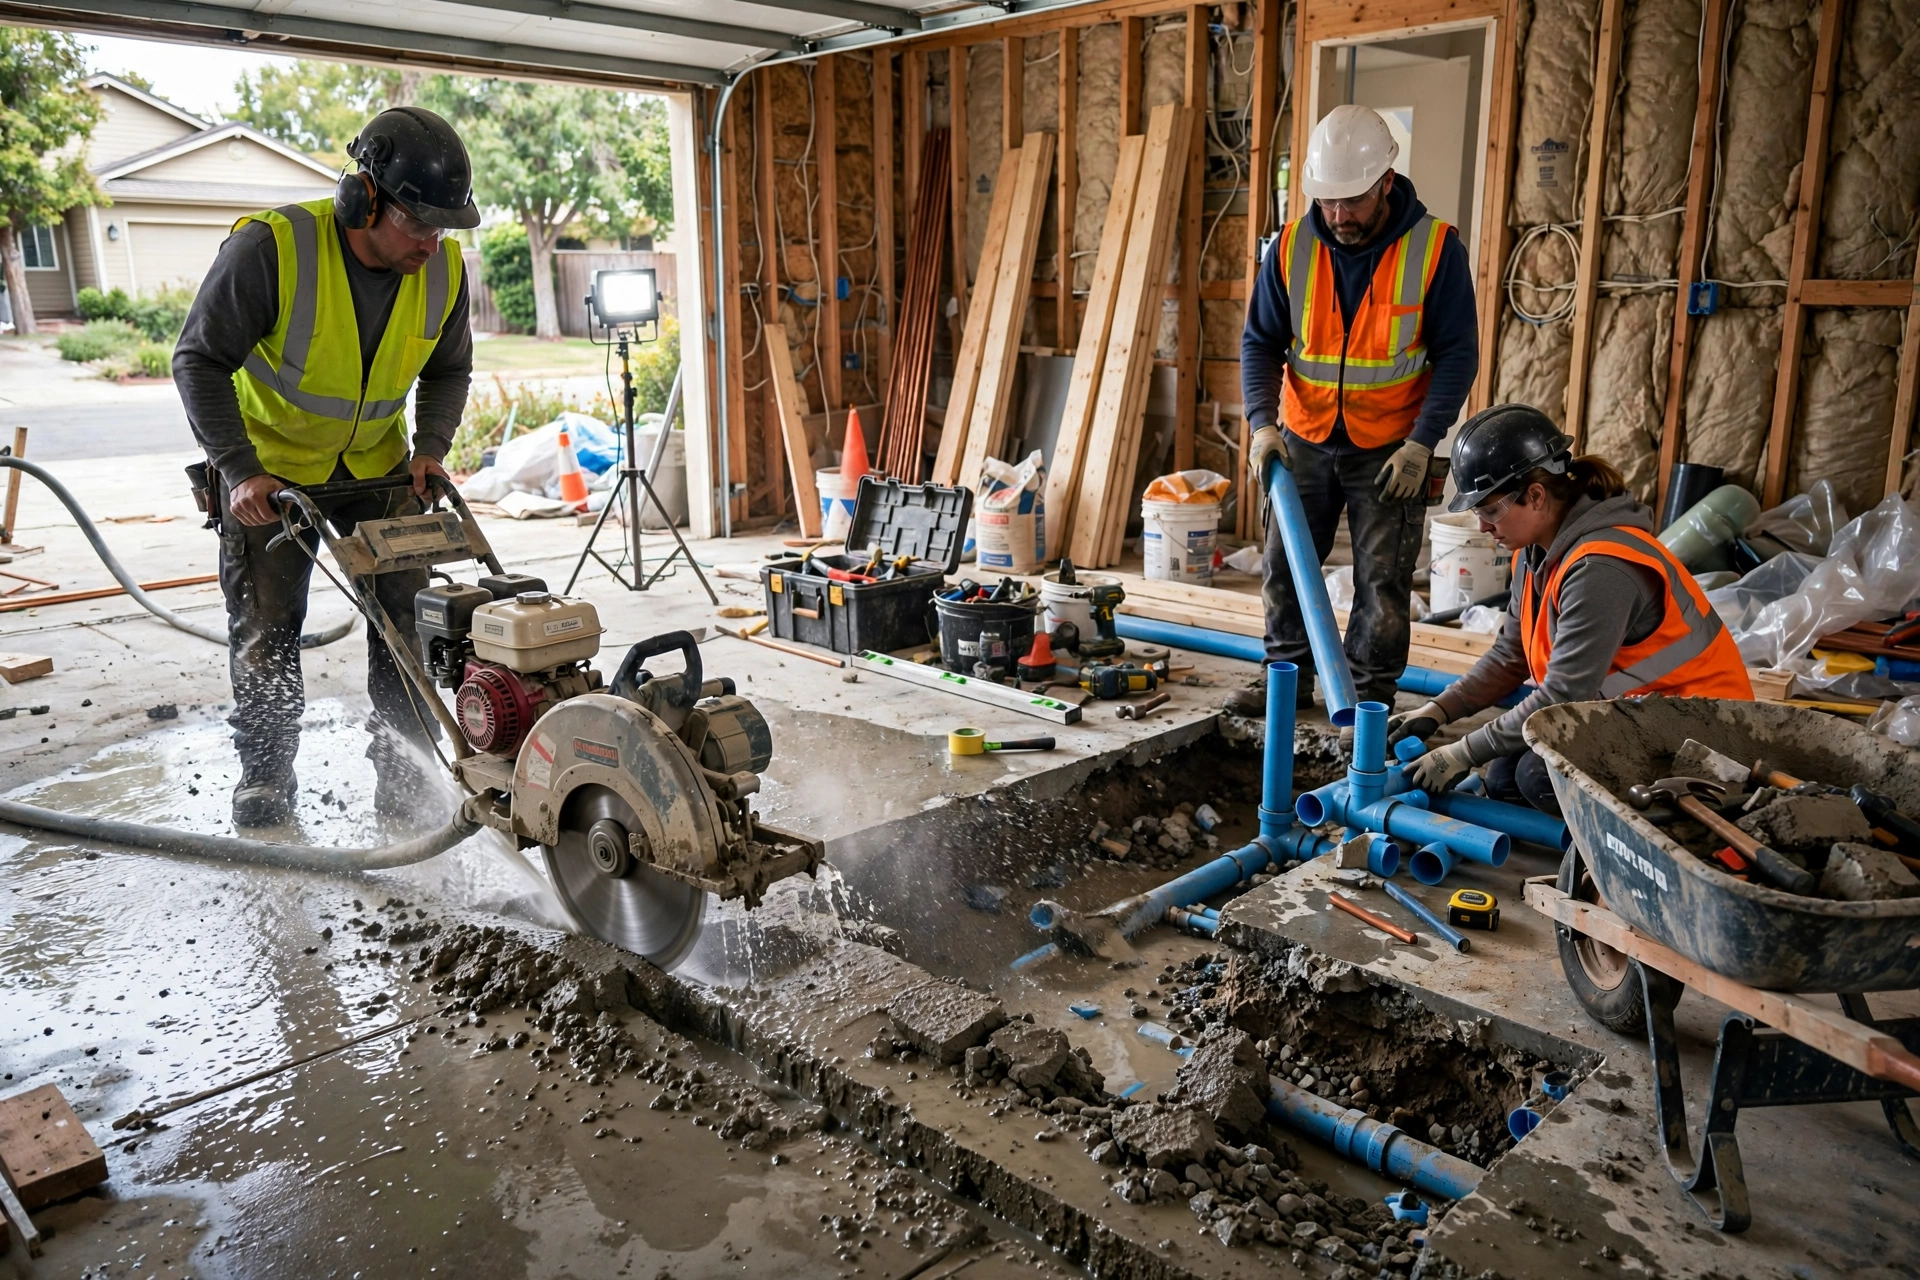
A slab-on-grade foundation is a poured concrete slab resting on compacted gravel and a moisture barrier. It is common for ground-floor additions in mild climates and keeps the new floor at a predictable height. The slab edge is thickened or paired with footings where it carries wall loads.
Footings and Stem Walls
Where frost depth or soil conditions require it, concrete footings are poured below the frost line and stem walls rise from them to support the floor system. Footing size is based on the loads the addition will carry and the bearing capacity of the soil.
Matching the Existing Foundation
If the existing house sits on a crawl space or basement, the addition’s foundation is often built the same way so floor heights align and access is preserved. The new foundation is doweled or tied into the old one where the engineer specifies, and the joint is flashed and sealed against water.
Step 4: Framing That Ties Into the Existing Structure
Framing is where the addition becomes part of the house instead of a box parked next to it.
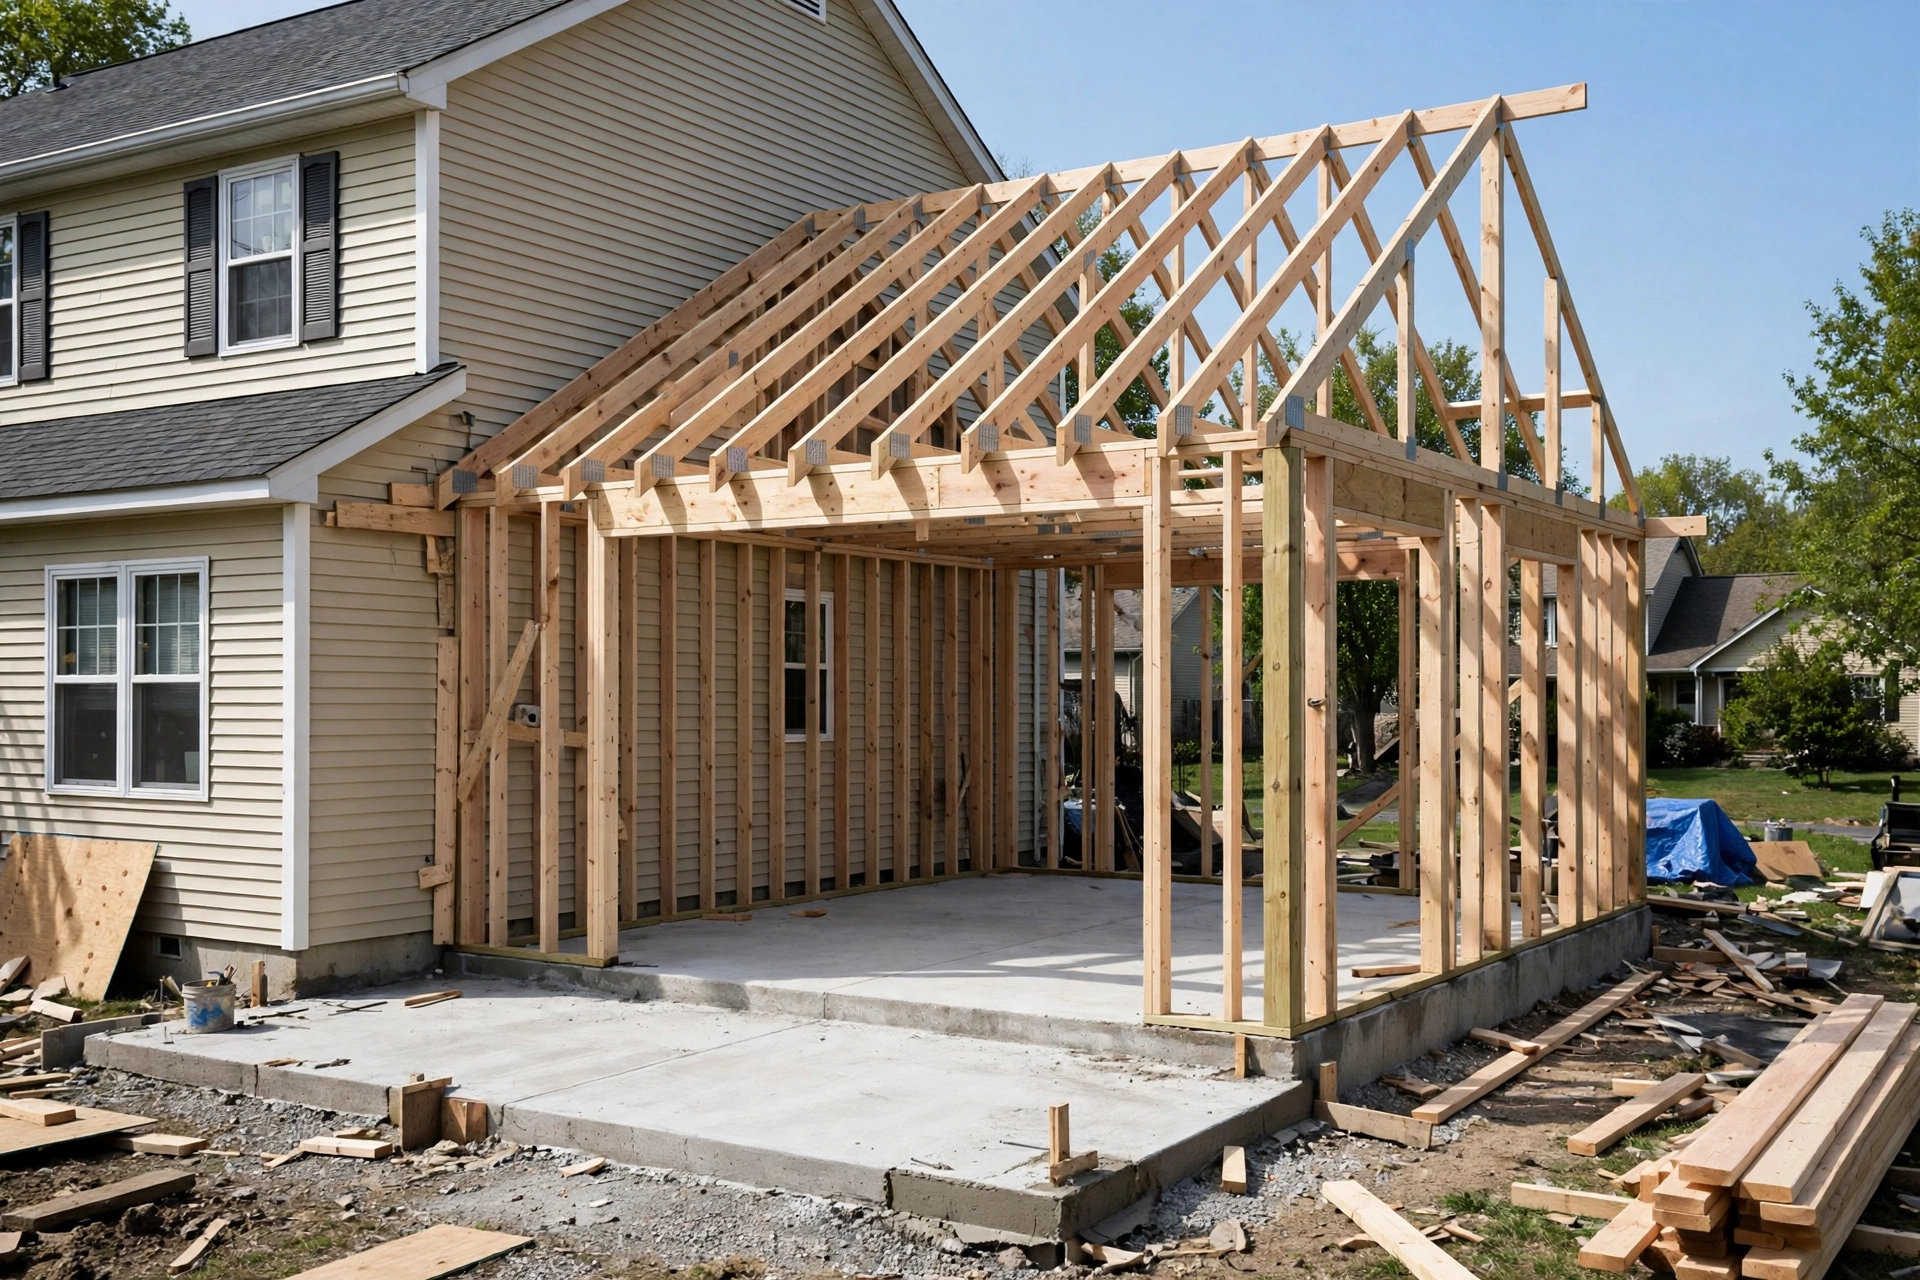
The floor system is framed level with the existing floor, often by bolting a ledger or resting joists on the new foundation walls and tying them into the existing rim. Walls are framed with the same plate heights so ceilings line up across the opening.
Qualified structural framing contractors pay close attention to the connection points: the wall intersection, the ceiling transition, and the opening cut into the existing exterior wall. That opening is framed with headers sized for the span, and the weather barrier is lapped correctly so the joint never becomes a leak path.
Once framing is inspected, sheathing, roofing, and window installation make the addition weather-tight, and only then is the connecting wall fully opened.
Step 5: Matching the Roof Pitch and Roofline
Nothing makes an addition look added-on faster than a roof that does not match. Roof pitch matching means the new roof is built at the same slope as the existing roof, with ridge and eave lines that continue the original geometry wherever possible.
The new roof framing, whether trusses or conventional rafters, ties into the existing roof structure, and valleys are framed where the two roofs meet. Shingles or roofing material are matched in profile and color, and the weave at the valley is done so water sheds cleanly off both planes.
Matching the roofline also protects resale value. An addition that reads as part of the original house appraises better than one that looks like an afterthought.
Step 6: Permits and Inspections
Room additions require building permits in virtually every jurisdiction. The city permitting process generally follows the same path.
First, plans are drawn and submitted with the permit application, including the site plan, foundation plan, framing details, and energy code information.
Second, the plan review checks the design against zoning, setbacks, and building codes. Corrections are addressed and the permit is issued.
Third, inspections happen at set stages: footing inspection before concrete is poured, framing inspection before walls are closed, rough mechanical, electrical, and plumbing inspections, insulation inspection, and a final inspection before the space is occupied.
Skipping permits creates real problems at resale, with insurance, and with the city. A permitted addition is documented square footage that adds legal, appraisable value to your home.
What Does a Room Addition Cost?
The cost to add a room depends on the type of addition, the finishes, and how much structural work the tie-in requires. Ground-floor additions with new foundations cost more per project than bump-outs but less per square foot, because the fixed costs of permits, trades, and site work are spread over more area.
Costs rise when the addition includes a bathroom or kitchen, when the existing electrical panel or HVAC system needs upgrading to serve the new space, and when the roof tie-in is complex.
The most reliable way to budget is a written, line-item estimate based on your actual plans, so you can see what the foundation, framing, roof, and finishes each cost before construction starts.
How Long Does a Room Addition Take?
Most room additions take two to four months of construction after permits are issued, depending on size and complexity. Design and permitting usually add several weeks before that.
Weather, inspection scheduling, and material lead times can shift the timeline, which is why a realistic schedule with milestones matters more than an optimistic one.
Conclusion
Planning a room addition comes down to sequence: confirm zoning, design the structure, build a foundation that matches the house, frame the tie-in correctly, match the roof pitch, and permit every step.
When those steps are handled by experienced home addition contractors, the result is space that feels original to the home and adds lasting value. E&K Contractors can review your plans, evaluate your lot and existing structure, and provide a clear estimate for your addition. Explore our new construction services and our full range of remodeling and construction services to see how we can help.